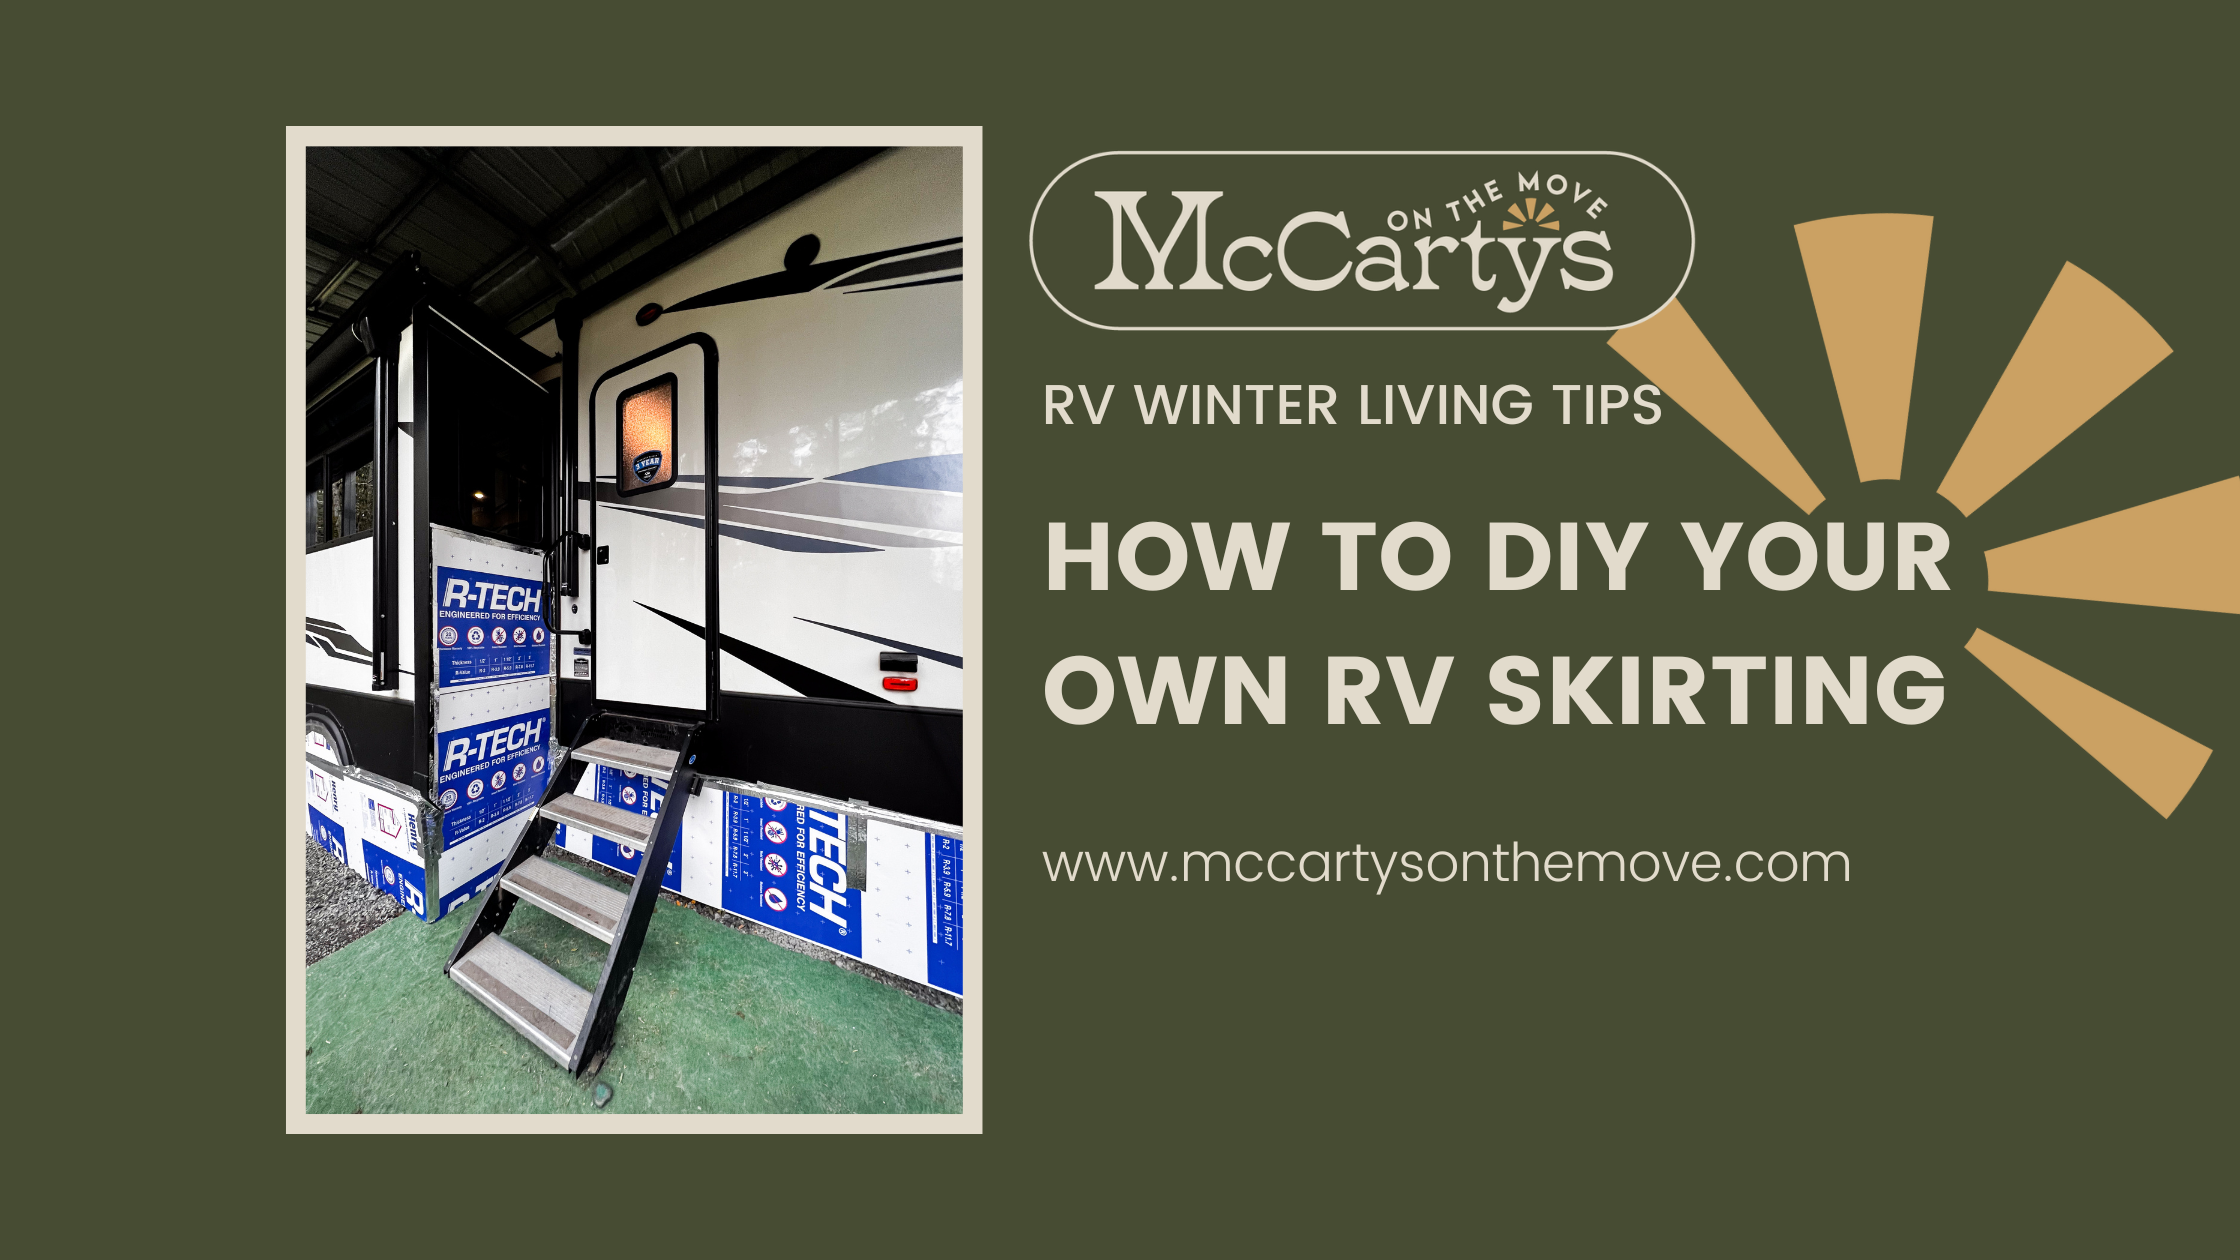
Hey Friends! Are you gearing up for a winter adventure in your RV, just like us, and searching for an easy DIY tutorial on creating your own RV skirting? Look no further; we’re delighted to have you here. As we embark on our second year of winter RVing, we decided to explore the world of DIY RV skirting. Last year, with an RV dealership appointment for warranty work in January, we opted to forego the hassle of putting up and taking down skirting. This time around, with the RV stationary throughout winter, we were eager to give this DIY project a shot. Initially, the project seemed a bit intimidating, but we’re thrilled to report that it has been both rewarding and effective.
Read More: Your Ultimate Guide To RV Winter Living
Here’s a step-by-step guide on how to craft your own RV skirting:
Plan Ahead and Take Measurements:
Begin by grabbing a blank sheet of paper and creating a rough sketch of your RV. Take meticulous measurements all around, including the distance from the ground to the bottom of the RV and around the slide-outs. We decided to add insulation to our slide-outs to combat the significant drafts they allow in. Once measurements are gathered, calculate the number of foam boards needed. A pre-trip visit to the hardware store helped us assess dimensions and costs, ensuring we were well-prepared for our purchase.

Purchase Foam Board and Tape:
Head to your local hardware store with your calculated list and acquire the necessary materials. We opted for ten one-inch foam boards and two rolls of reflective tape. Choosing the appropriate thickness of foam board depends on your location’s winter temperatures; in our case, one inch sufficed for efficiency.
Measure and Cut:
Before cutting, double-check your measurements and the dimensions of the foam boards. As the saying goes, “measure twice, cut once.” We aimed for minimal waste, using another foam board as a straight edge. A pocket knife proved more effective than a razor blade for cutting.

Tape Foam Board to RV:
Follow a systematic approach of cutting one board, taping, and moving on to the next section. Prioritize applying the foam board to the entire underbelly of the RV before addressing the slide-outs. We preserved natural light by stopping the boards just below the windows on the slide-outs. Note that reflective tape adheres better to certain materials; an extra roll could strengthen the bond, especially on slide-outs.
Read more: Stay Warm and Dry: Extra Insulation Tips for your RV

Enjoy the Warmth of Your RV:
Voila! With 10 one-inch foam boards, two rolls of reflective tape, an investment of $170, and about four hours of effort, you can revel in the warmth of your RV. Over two months since installation, we’ve experienced noticeable improvements in temperature retention and reduced propane usage. Keep in mind that while not rodent-proof, this DIY skirting project has proven effective in enhancing winter comfort.
Read more: Winter RV Living: How to Keep your Water Pipes from Freezing
We hope you find this tutorial on crafting your own RV skirting enjoyable and informative and please comment below if you tried our tutorial, we’d love to hear how it went for you.

